

How To Make A Faux Stained Glass Window
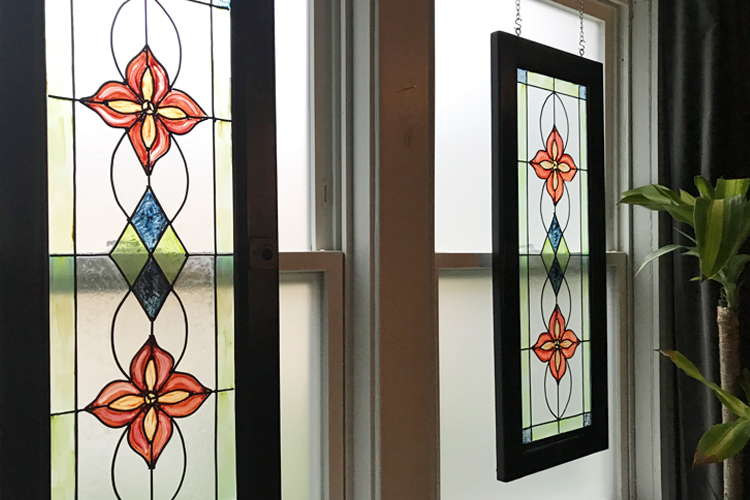
This easy DIY fake stained glass window doubles as art and a privacy screen at the aforementioned fourth dimension. I was getting tired of the woods blinds in our pocket-size living room and wanted to let in more light. However, the house next door is really shut to ours and nosotros both use the shared driveway on that side of the house. Therefore, I need privacy.
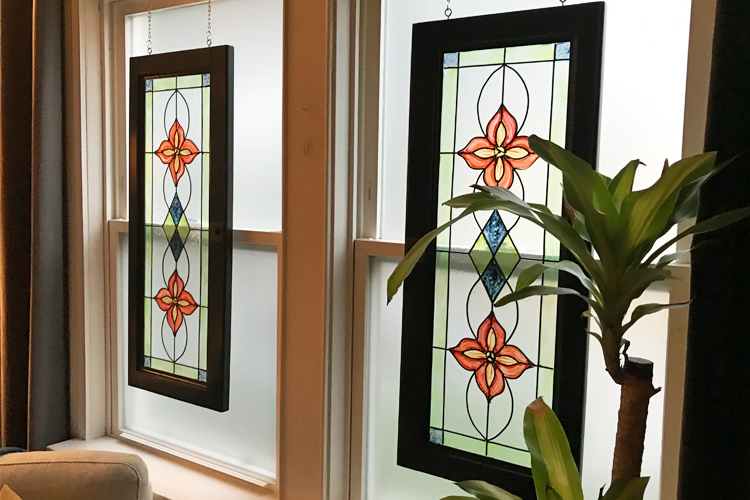
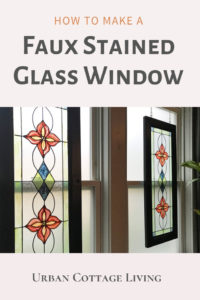
My design solution was to remove the blinds, add privacy film and hang a pair of faux stained glass windows to infuse some art, personality, and about importantly, more calorie-free. This decor project takes the DIY faux leaded drinking glass window ane step further by adding colorful paint.
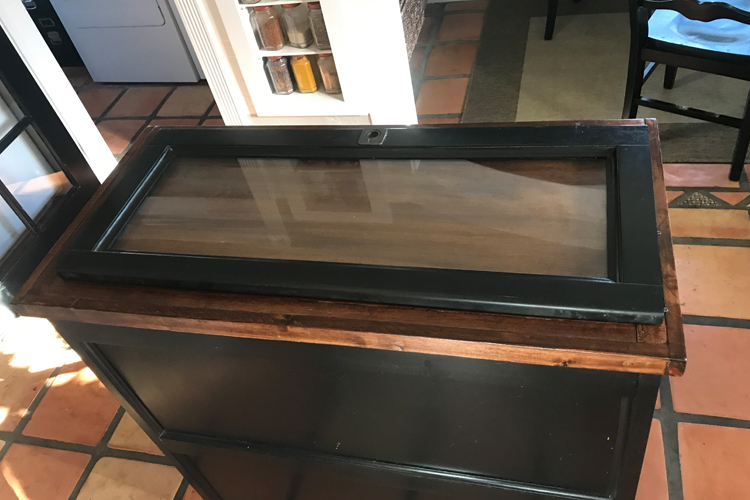
Before we dive into the step by step directions on how to make a false stained glass window, I want to tell you where I got my windowpanes for this project.
These are glass doors from a bookcase that I repurposed into my kitchen island. You lot don't have to spend a lot of coin on this project. Yous could apply a repurposed glass door (similar I did), a large thrifted picture frame, or fifty-fifty a mirror.
This post includes some chapter links. If you click on these and make a purchase, I earn an itsy bitsy commission but it doesn't cost you whatsoever actress.
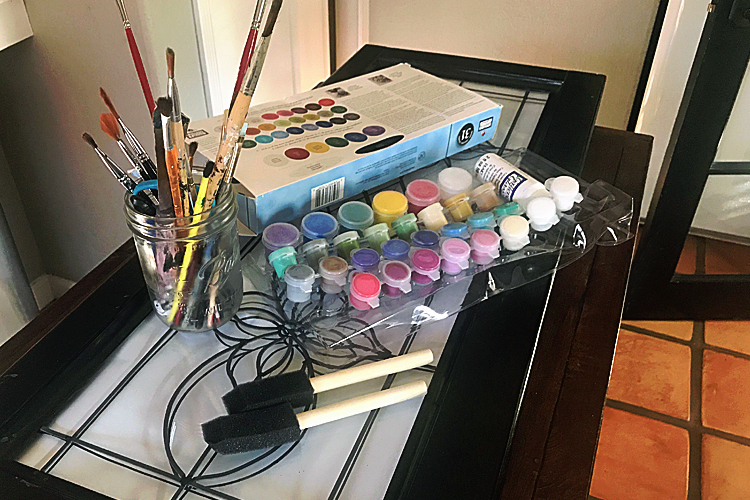
Supplies
- Blank Windowpane or Piece of Glass
- Plain Paper
- Blackness Marker Pen
- Gallery Glass Instant Lead Lines
- Gallery Glass Paint Gear up
- Small Screw Eyes
- Pocket-size South Hooks
- Chain
Tools
- Paint Brushes
- Box Cutter or Minor Scissors
Clean the Glass
Clean the slice of glass. You volition want to ensure that the instant leading is going to adhere well to your glass and keep flecks of clay out of your pigment on your faux stained drinking glass window.
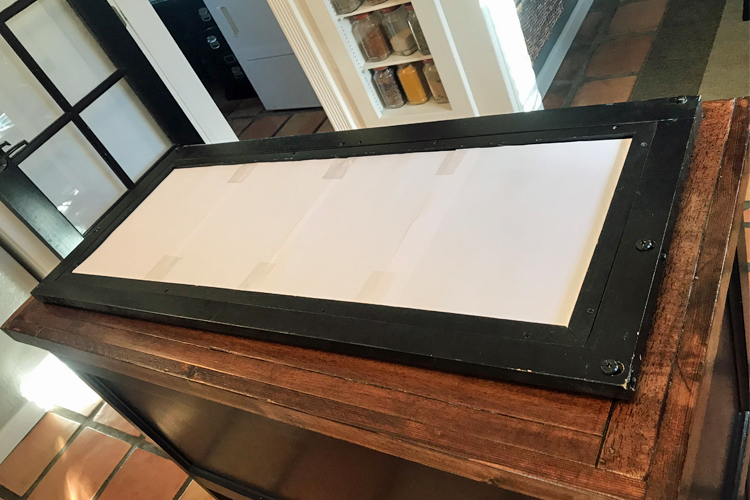
Cut A Template
Using evidently newspaper, create a template the verbal same size as your projection glass. This is what you lot will draw the design on for your faux stained glass window.
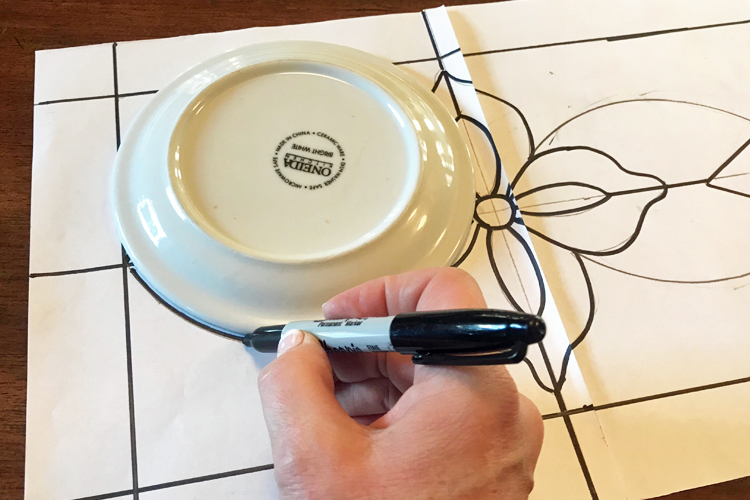
Blueprint & Draw Your Pattern
Design the pattern for your faux stained glass window and sketch it out using a pencil. Yous tin see in the photo below that I did some erasing until I got it how I liked it. Once you lot are happy with your blueprint, trace information technology out with a medium size black mark.
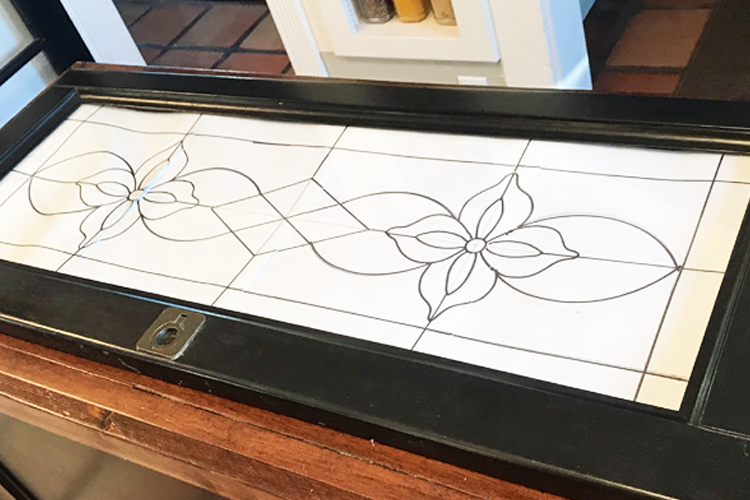
Attach the Template to the Drinking glass
Tape the template on the backside of the project glass with the blueprint facing forward. This will be your guide, for applying the instant leading.
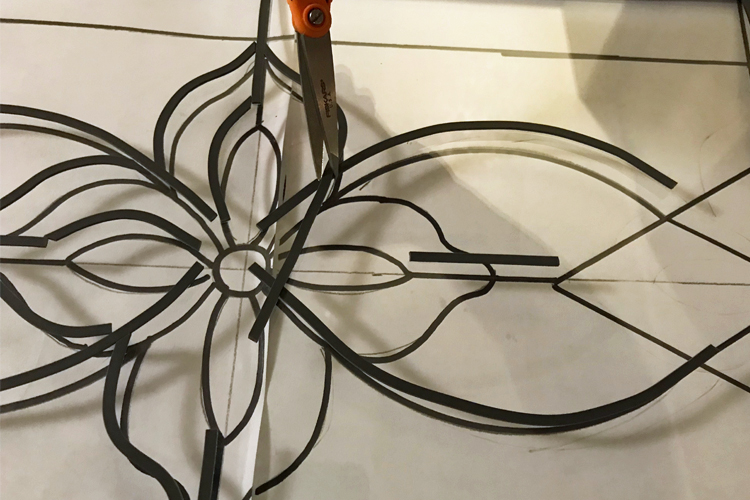
Use Instant Leading
The instant leading is basically a thin rubber sticker. Information technology is very easy to cutting, manipulate, and reposition as needed. Note, I have found that if you move information technology more than three times, it may loose some of its tackiness. Utilize a box cutter or pocket-sized pair of scissors to trim the instant leading equally needed.
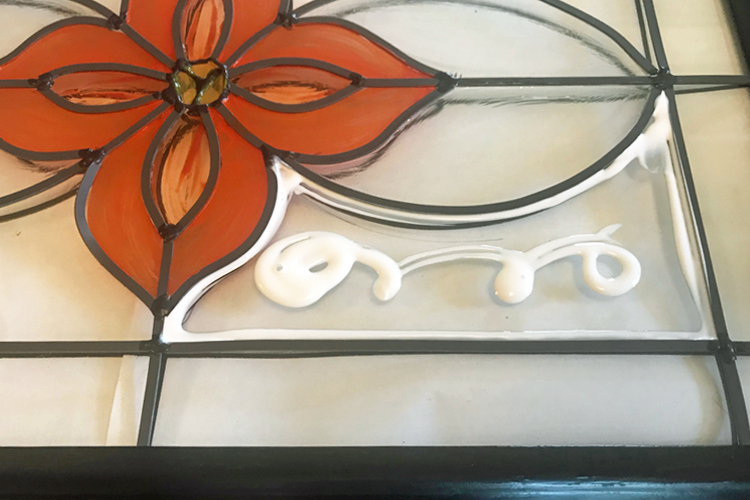
Add Leading Joints
After yous take all of the lead lines in place on your fake stained glass window, utilize the liquid leading that comes in the paint set up. Apply a generous dot of liquid leading at each lead line intersection. Permit the liquid leading to dry before moving onto the adjacent step.
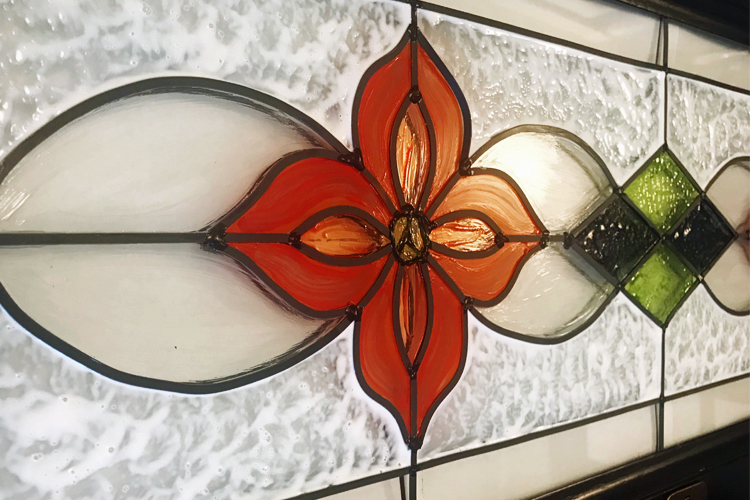
Pigment from the Center Out
After the liquid leading is dry out, brainstorm painting your design working from the center of the project glass out to the edges and then you don't accidentally set your paw or paintbrush in wet pigment.
Apply a Optional Second Layer
If later on the offset awarding of
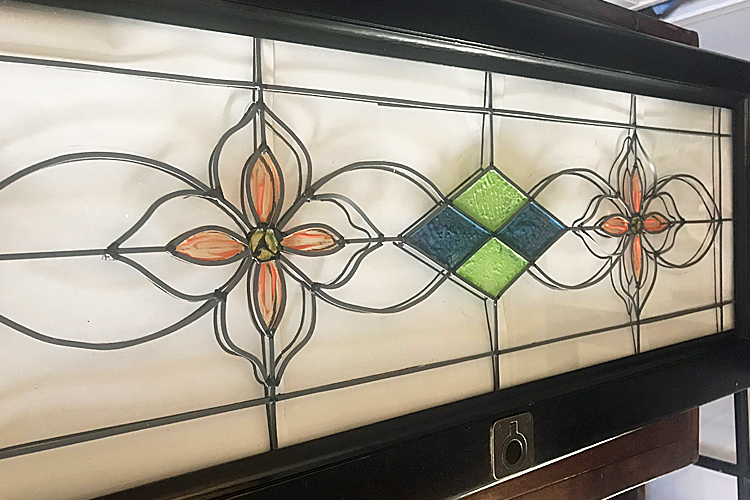
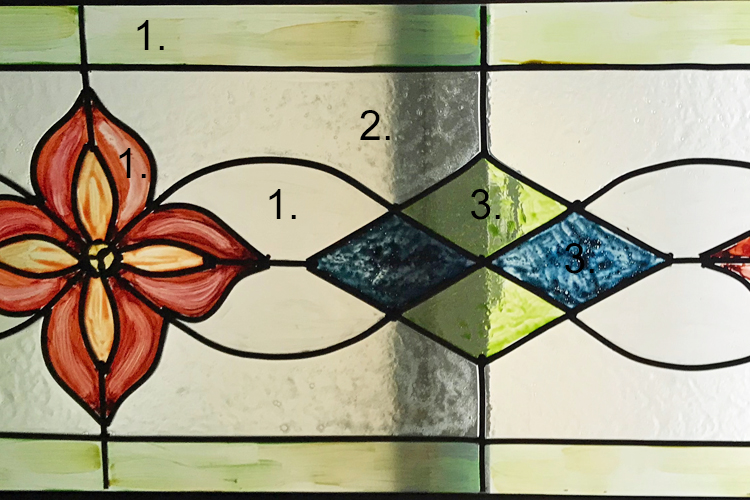
Use Different Textures
Utilize different textures for different colors on your faux stained glass window to requite it character and interest. This footstep is too going to make it feel like a real stained drinking glass window. The pigment takes some time to dry, so you can play around with different patterns as y'all apply it.

Texture Techniques Used
- Brushed – applied with a flat edged pigment brush
- Dappled – applied in swirls the dappled with fingertip
- Stippled – applied with a apartment border paint brush then stippled with the to edge of the brush
Apply Hardware for Hanging
If you plan to hang your simulated stained glass window attach minor heart hook screws to the top of your projection glass and from the
One time you have completed your kickoff faux stained glass window, the procedure will more than likely have you hooked. Yous tin transfer this technique to other decor projects such as vases, picture frames, glass doors. The possibilities are endless – how do you lot think you volition use a faux stained
↓ Pin It ↓
Source: https://urbancottageliving.com/diy/faux-stained-glass-window/
Posted by: gotoablets.blogspot.com
0 Response to "How To Make A Faux Stained Glass Window"
Post a Comment